Export your site to HTML
Paste a public URL. The free plan exports a single page with no card required.
There are two practical ways to export Webflow code: use Webflow's native Export code feature from the project, or capture the frontend from a published URL. They solve different access problems and neither automatically replaces every Webflow service.
Have a published site ready to export? Scan its URL with the Webflow exporter and review the detected pages. For Webflow's built-in export, use the native steps below and its official documentation.
Quick comparison
| Question | Webflow native export | Published-URL export |
|---|---|---|
| Required access | Project access and a paid Workspace plan | Public URL and permission to export it |
| Source | Webflow project export | Browser-rendered public frontend |
| Typical files | HTML, CSS, JavaScript, images and other assets | Captured HTML, styles, scripts and downloadable assets |
| CMS content and editing | Collection lists export empty; Collection pages omit CMS-bound content. No working CMS is included. | Reachable published collection pages may be captured as static files within crawl and plan limits. CMS data and editing are not recreated. |
| Forms | Form UI may exist; Webflow processing does not travel | Visible UI may be captured; processing must be replaced |
| Best use | Owners with project access | Backups, handoffs, or migrations from a published site |
Method 1: export code from Webflow
Requirements
Webflow states that code export requires a paid Workspace plan. A Site plan alone is not the same requirement. Check the current Workspace permissions and pricing before upgrading because plan details can change.
Steps
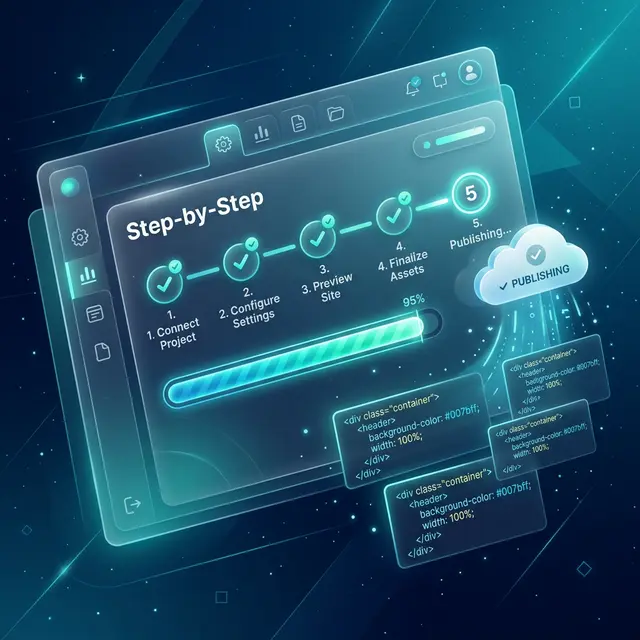
- Open your site in Webflow.
- Open the W menu, choose Code export, or use Shift + E.
- Choose Prepare ZIP, then download the archive.
- Extract the files into a working folder.
- Serve the folder locally and check each important page before deployment.
The download normally includes HTML for static pages plus CSS, JavaScript, images, and other project assets that Webflow includes in its export.
What native Webflow export excludes
According to Webflow's official documentation, exported code does not carry every hosted feature. Plan separately for:
- CMS content and CMS functionality;
- user accounts and gated-user functionality;
- ecommerce databases and ecommerce functionality;
- localized content beyond the primary locale;
- site search;
- Webflow form processing and reCAPTCHA;
- password protection;
- code components.
The visible markup of a form or collection page is not the same as the backend that powers it. Map each excluded feature to a new CMS, form handler, search service, commerce platform, or application backend before changing DNS.
Method 2: export a published Webflow URL
A URL exporter works from what a visitor can load, so it can be useful when the site is public and you have permission but do not have the required Workspace plan.
- Publish the version you want to export and confirm that the target pages are publicly accessible.
- Paste the URL into the Webflow exporter and run a scan.
- Review the detected pages, choose the required scope, and check the export limits and options.
- Start the export, download the ZIP and preserve an untouched copy.
- Run the files over HTTP; test navigation, assets, interactions and any replacement services.
A scan is free. The Free plan supports 10 single-page exports per month; use an eligible paid option when you need full-site scope or local asset downloads. Review the current options in the exporter before proceeding.
URL export captures the published result rather than the original project model. It cannot recover unpublished pages, Designer components, CMS relationships, credentials, server-side code, or private data.
CMS migration
Choose the destination before launch: a new headless CMS, WordPress, another application database, or static content maintained in files. Export CMS records through an authorized Webflow data workflow where possible; do not rely on scraping visible cards as the only copy.
For each collection, preserve:
- field names and types;
- slugs and relationships;
- images and their usage rights;
- collection-template URLs;
- titles, descriptions, canonicals, and structured data;
- redirects for any changed URL.
Forms, search, and ecommerce
Replace Webflow form processing with a form service or backend you control. Reconnect validation, spam protection, email notifications, consent records, success/error states, and data retention.
Rebuild site search against the new content source. Treat ecommerce and user accounts as application migrations, not static-export tasks; orders, customers, inventory, authentication, and payments need dedicated systems and testing.
Interactions and JavaScript
Some published interactions may continue when their required Webflow scripts and attributes are present. Test instead of assuming. Check scroll triggers, menus, sliders, tabs, modals, hover states, reduced-motion behavior, and touch input. Remove a script only after verifying it is not required.
Assets, fonts, and external dependencies
Confirm which images, videos, fonts, CSS, and scripts are local and which still load from Webflow or another provider. Download assets you are licensed to host, update references, and preserve responsive image behavior. Review font and stock-asset licenses before moving them.
SEO migration checklist
- Preserve useful page paths or add direct permanent redirects
- Keep one self-canonical URL per page
- Restore titles, descriptions, headings, Open Graph, and required JSON-LD
- Generate a sitemap containing only final canonical URLs
- Check robots rules and remove staging
noindexbefore launch - Keep analytics and consent configuration valid for the new host
- Test broken links, missing assets, status codes, and 404 behavior
Deployment checklist
- Run the exported site on a local or test server.
- Compare important templates at desktop and mobile widths.
- Test navigation, forms, interactions, CMS replacements, and third-party embeds.
- Measure the exported site with browser tools; optimization gains vary by page and hosting setup.
- Deploy to a staging URL, crawl it, and verify headers and redirects.
- Change DNS only after the test deployment passes review, then monitor logs and Search Console.
Use native export when you have project access and the correct Workspace plan. Use a URL export when the published frontend is the available source. In both cases, inventory Webflow-only services and migrate them deliberately.