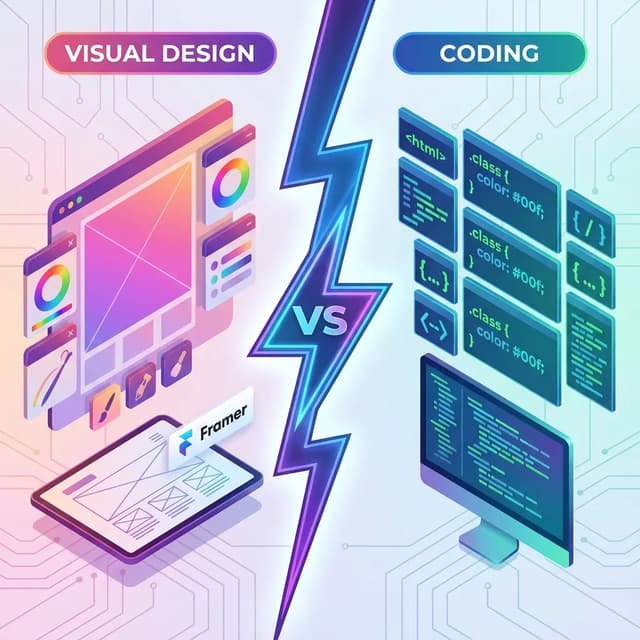
Choose a published-site capture if you want to self-host the current frontend. Choose a source rebuild if you need a maintainable application codebase. “Framer to code” can describe either goal, so check the delivered files rather than relying on the label.
A NoCodeExport capture packages selected public pages and their required resources. It does not return the editable Framer project or automatically generate React or Next.js components. Start with the Framer export tool for a capture, or use the code-options guide to decide what you need.
What each path produces
| Decision | Published-site capture | Source rebuild |
|---|---|---|
| Files | HTML, captured styles, required scripts/modules and configured assets | New source files with the architecture agreed for the project |
| Framer runtime | Required .mjs modules can remain; some effects use helpers | Depends on the new implementation; removing Framer code requires rebuilding its behavior |
| Editing | Inspect the ZIP; direct changes to generated modules can be fragile | Edit maintained components, routes and data integrations |
| CMS | Content captured at export time, not a live CMS editor | Connect or migrate data into the chosen CMS separately |
| Forms | Configure a working submission endpoint and test receipt | Implement and test the form backend |
| Later updates | Re-export and redeploy within your entitlement | Change the source and release another build |
Framer's portability article describes downloading published files. Its HTML export article says native HTML export for self-hosting is unavailable. Both were checked October 2, 2026. Published output, editor project source and hosted services are different things.
Fidelity: test the behavior you need
A capture is a starting point for comparison with the published site, not a guarantee that every interaction transfers. Test responsive layouts, menus, hover and keyboard states, scroll effects and custom components on the final host. A matching screenshot does not establish working behavior.
A paid NoCodeExport export can mirror required Framer modules under assets/framer/. Keep their paths intact and serve the package over HTTP. Free keeps assets linked to the original host; downloaded paid assets depend on what was reachable. Videos, embeds and other dynamic requests can remain external. Read the package warnings before retiring source hosting.
The animation checks help identify differences. A rebuild also needs acceptance tests: new code does not guarantee matching animation timing or design fidelity.
Time and cost: compare the whole migration
Export duration depends on page count, resources, third-party responses and site behavior. Deployment also needs route, dependency, form and metadata checks. A source rebuild requires a separate scope, implementation and validation. This guide does not establish a universal completion time, price saving or percentage of sites suited to either path.
Free is a single-page trial with linked assets. Each domain has one successful Free export in total across Free accounts; the allowance does not reset monthly. For downloaded assets, compare a Site Pass for one successful export with a subscription for recurring exports on the current pricing page. Hosting charges and development work are separate.
SEO and performance: measure the destination
Moving files does not automatically remove Framer's runtime, improve Core Web Vitals or preserve rankings. Retained modules, image delivery, caching, third-party requests and host configuration affect the result. A rebuild can change those choices, but still requires measurement.
Check titles, descriptions, canonicals, structured data, sitemap URLs and indexing settings in the delivered pages. Preserve page paths where appropriate and configure redirects for changed URLs. Compare representative source and destination pages under the same test conditions before making a performance claim.
Which path fits your project?
- Capture: the current frontend meets your needs and its required behaviors pass testing; you can maintain it through re-exports or careful file changes.
- Rebuild: you need maintained component source, a new content system, authentication, application logic or substantial ongoing development.
- Combine them: capture validated public pages while developing other sections separately. Confirm navigation and services between the two.
NoCodeExport provides the published-site export workflow, not a custom rebuild service. If a rebuild is necessary, scope it with your own development team.
Before switching traffic
- Confirm selected pages, required modules and remaining external requests.
- Serve the files over HTTP and test direct nested URLs, responsive layouts and interactions.
- Reconnect forms and confirm a real submission reaches the destination; a visible success message alone is insufficient.
- Treat CMS content as a snapshot. Export CMS data separately if you need an editable content system.
- Verify the final domain, search metadata and rollback path before retiring the original host.
Follow the Framer export checklist and the Netlify deployment guide for the capture workflow.
Going the other direction? The HTML to Framer guide covers bringing existing HTML into Framer.